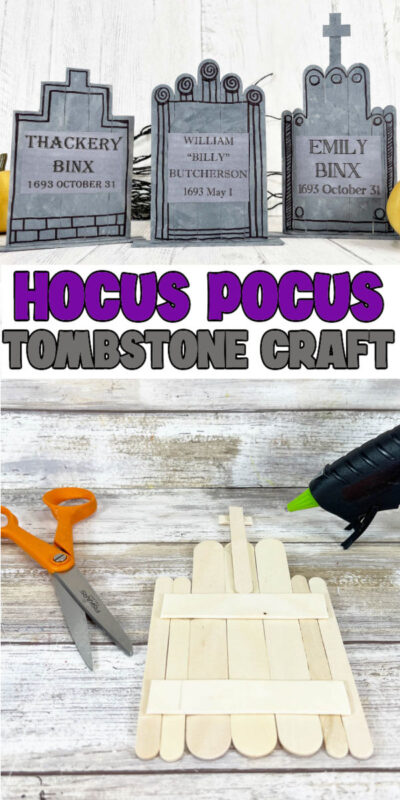
This fun tombstone craft idea is the latest in my series of fun Hocus Pocus party ideas! It all started with these fun Hocus Pocus movie night snacks, and I’ve gone a little crazy since. We’re talking Hocus Pocus brownies, Hocus Pocus cookies, a DIY black flame candle, and even the cutest Hocus Pocus Halloween bookmarks! This is not only the latest in my series but also the last – so sad! I could make fun Hocus Pocus ideas all year long but with Hocus Pocus 2 coming out in just a few days on Disney Plus, it’s time to finish things up. But don’t worry, I have tons of other Halloween fun coming up soon! And if you’re a movie fan, make sure to check out my TikTok account to see all sorts of fun Halloween themed movie buckets (including my Hocus Pocus one). These fun popsicle stick tombstones are great because you can make them Hocus Pocus themed using the free printable template included in this post or you can just draw on them yourself to make them a fun Halloween popsicle stick craft! No matter how you use them, they’ll be a fun addition to any Halloween party and are perfect for a little break after playing some more of these active Halloween games!
Why You’ll Love This Craft
Easy – there’s nothing to this craft other than painting, gluing, and cutting! It’s simple enough that kids of all ages can make these and make them their own!Inexpensive – you can literally just buy one pack of craft sticks and some craft paint at the Dollar Tree for less than $3! Everything else is just things you likely already have in your craft supply – scissors, markers, and glue! Easy to personalize – while you could make these exactly as written in this post, you can also personalize these to make them your own! Change up what’s on the tombstones, the colors, and the designs to personalize these for anything you want!
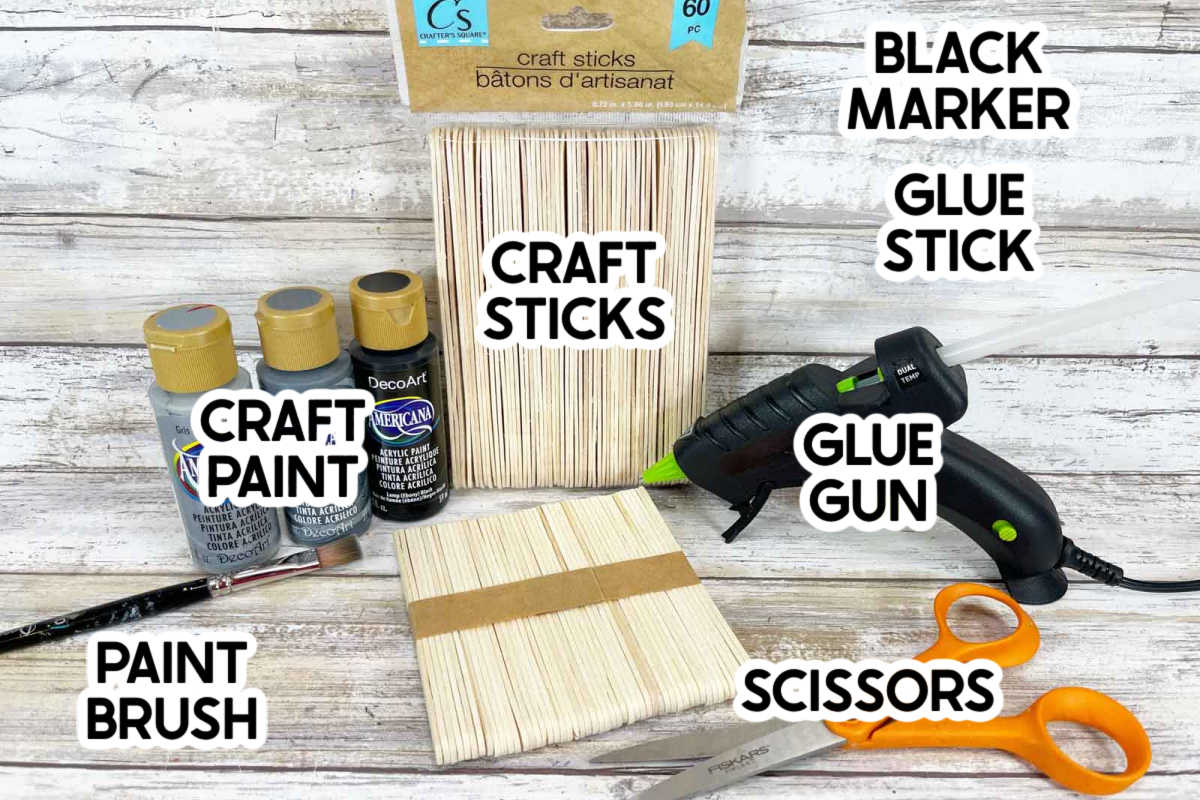
Supplies
Supply Notes
Craft sticks – these are pretty much the same as popsicle sticks. I used a pack of jumbo craft sticks (for the tombstones) and a set of regular ones for the tombstone decorations, like the cross. Craft paint – I used three different colors to make the cool stone look on the tombstones. I used a light gray, dark gray, and a little bit of black! Marker – you can use any fine point black permanent marker or you could even use a thin paintbrush and black paint if you have control with painting! Pattern – you’ll also want to print out this tombstone pattern that you can glue onto the tombstones to turn these into Hocus Pocus tombstones! You can either print them on white paper and color them in with a gray marker or you can print them directly onto gray paper.
How to make Hocus Pocus Tombstones
I’ve included step by step instructions below of how you make the Hocus Pocus themed tombstones but feel free to use these basic instructions and make them your own if you want something a little different! The steps will be the same, the designs will just be a little different!
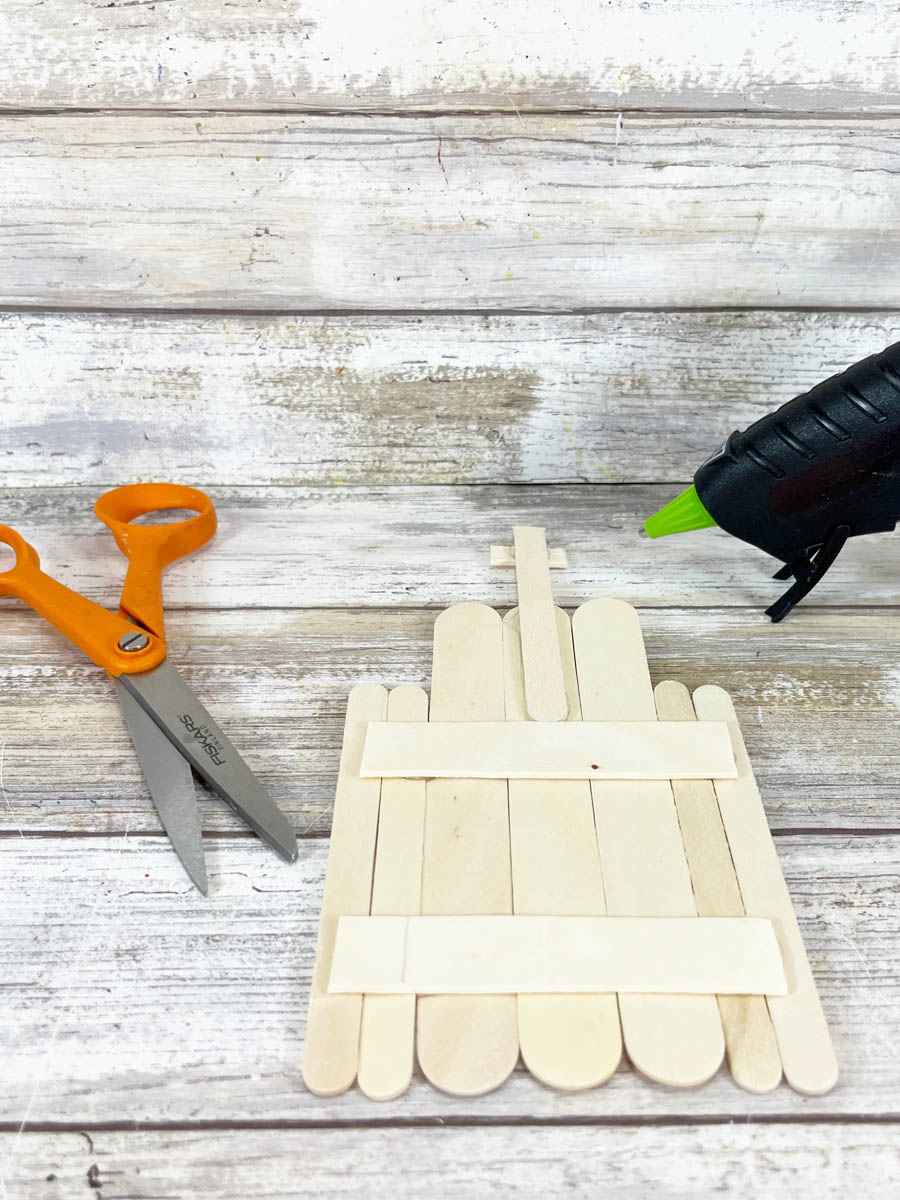
1 – Build the Tombstones
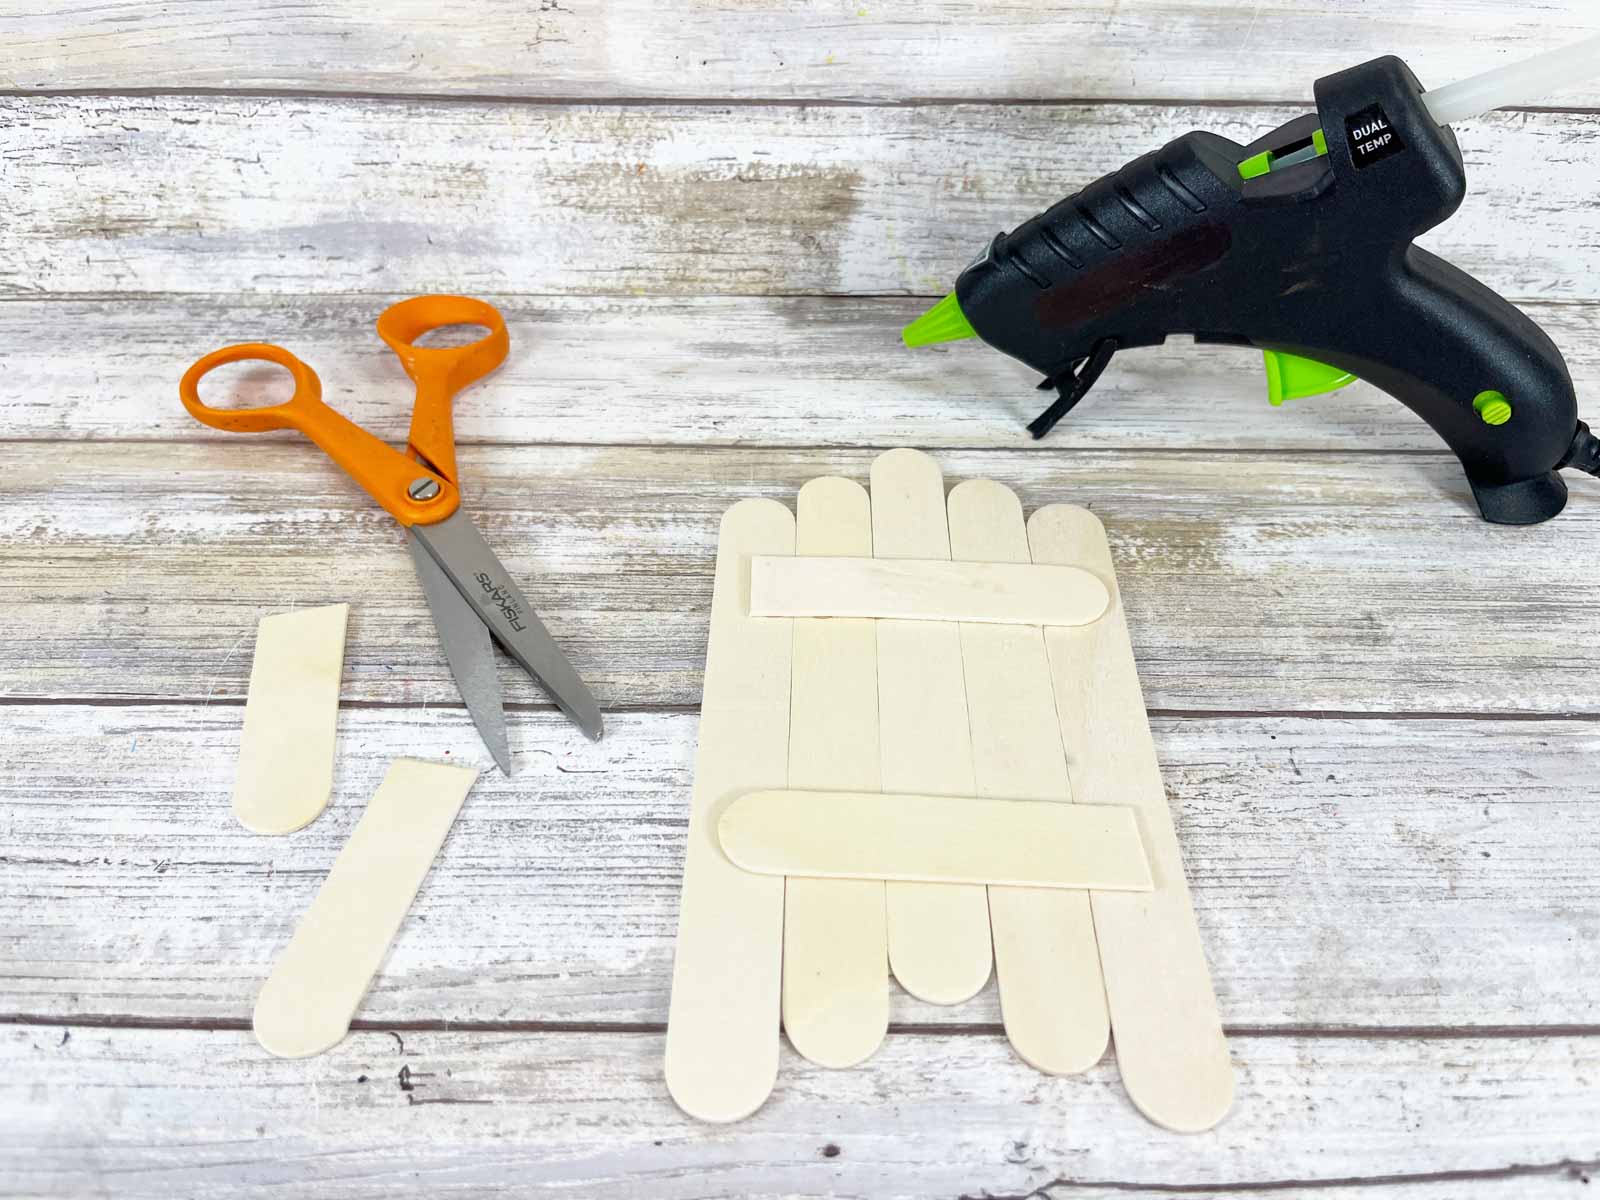
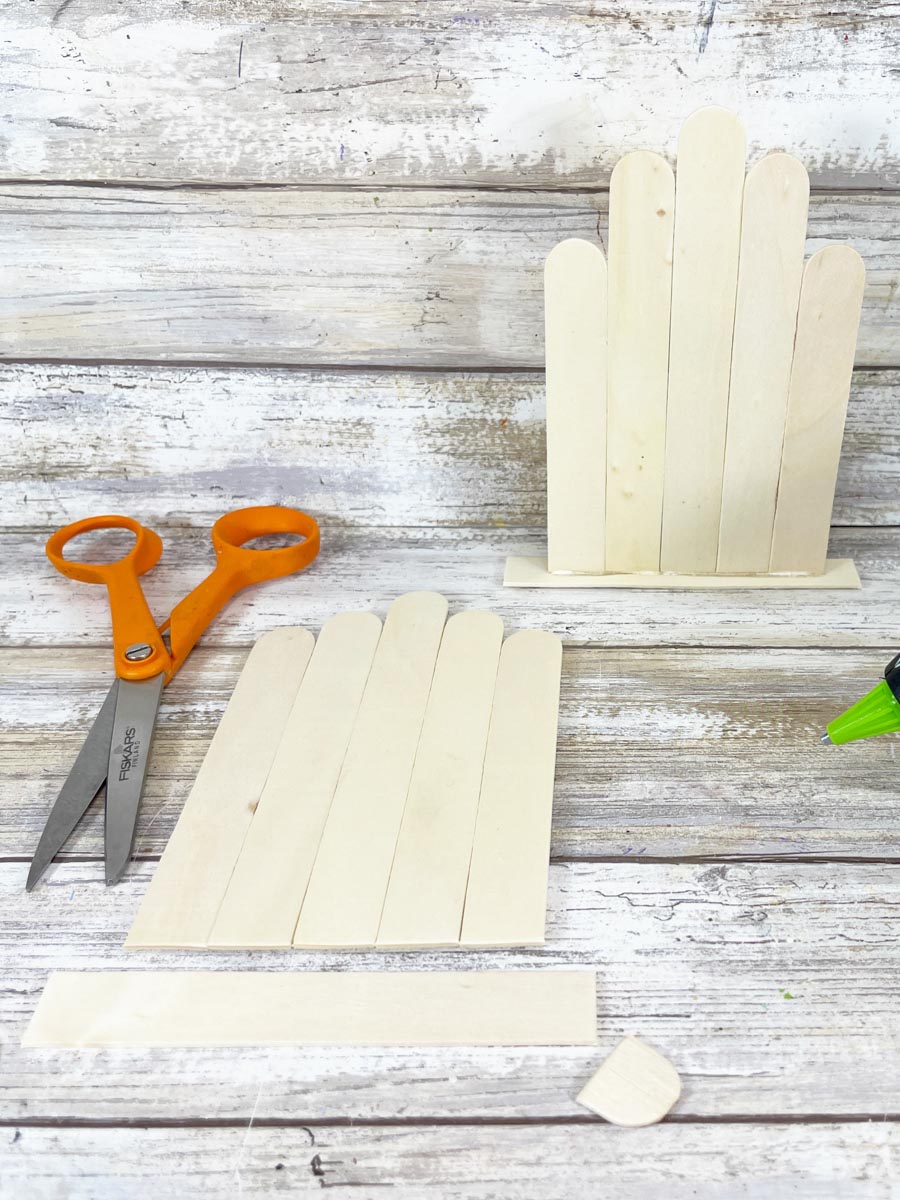
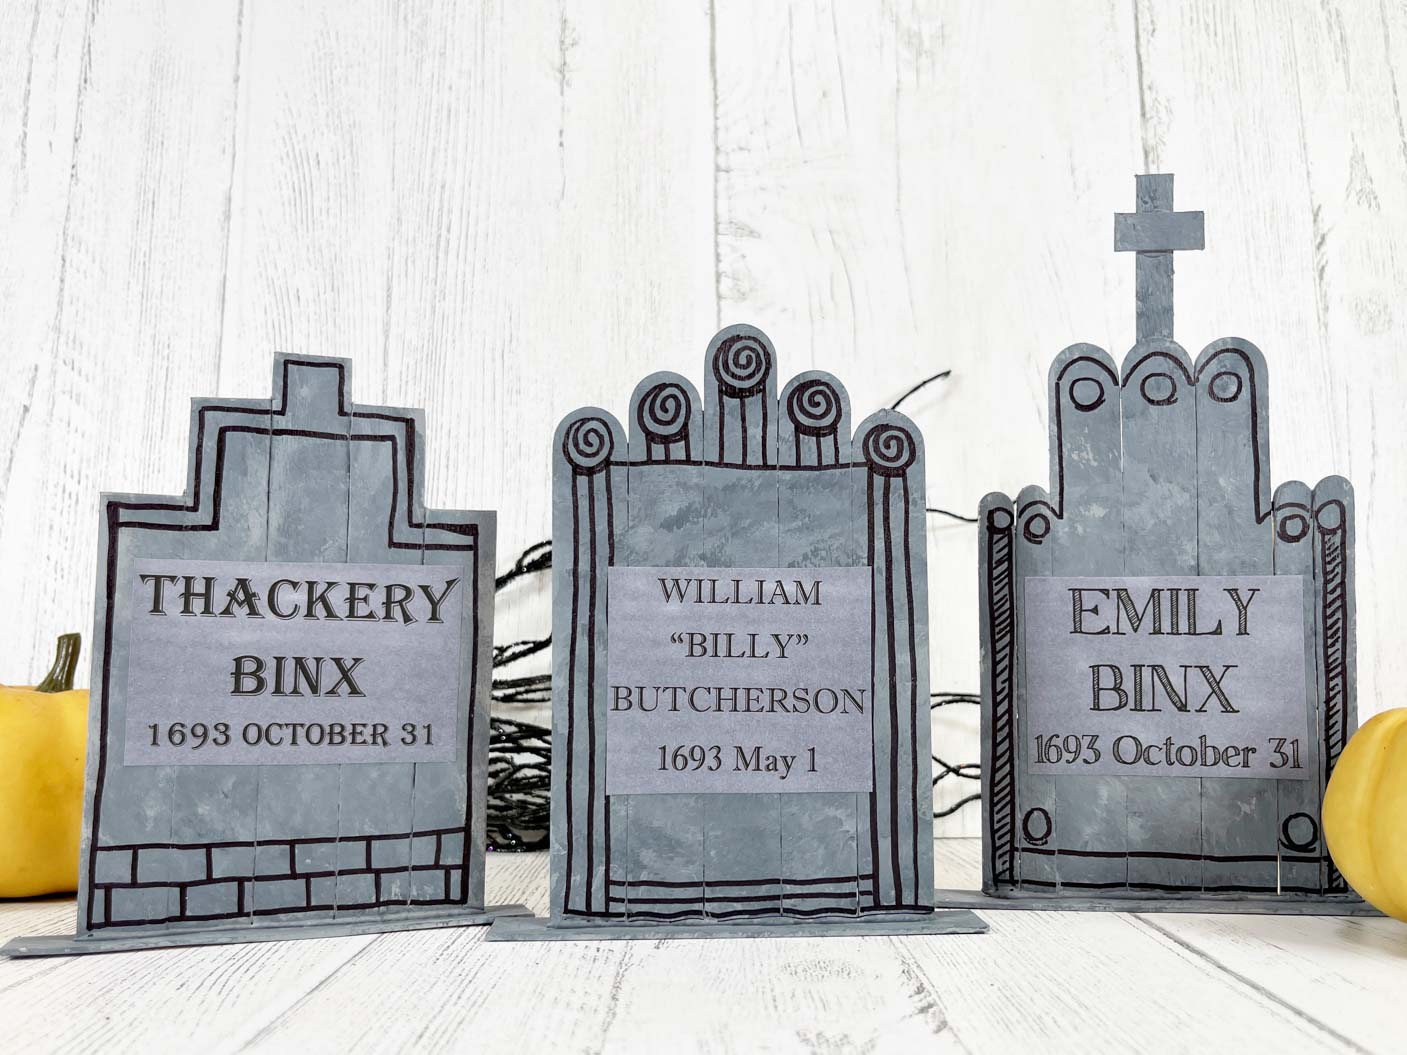
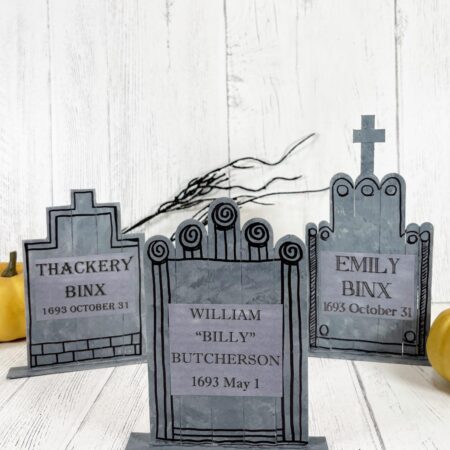
Start by building your tombstones. I did three different designs and have included details on what I used for each below: Once you have your base designs, cut a jumbo popsicle stick in half and glue one half in the center of the top of the popsicle sticks and the other half in the bottom center of the popsicle sticks, giving them more of a foundation so they don’t come apart. Finish the tombstones by drawing a straight line about the bottom of the tombstones (a ruler is helpful) and cutting off the bottom of the popsicles sticks to create a straight line. Finish the building portion of this tombstone craft by cutting the ends off of a jumbo craft stick for each of the tombstones. Then carefully glue the tombstone onto the cut craft stick to give it a stand so it’ll stand up! If you’d prefer, you could also do this after you’ve painted, but I like being able to paint them standing up compared to laying down since they’re easier to move that way.
2 – Paint the Tombstones
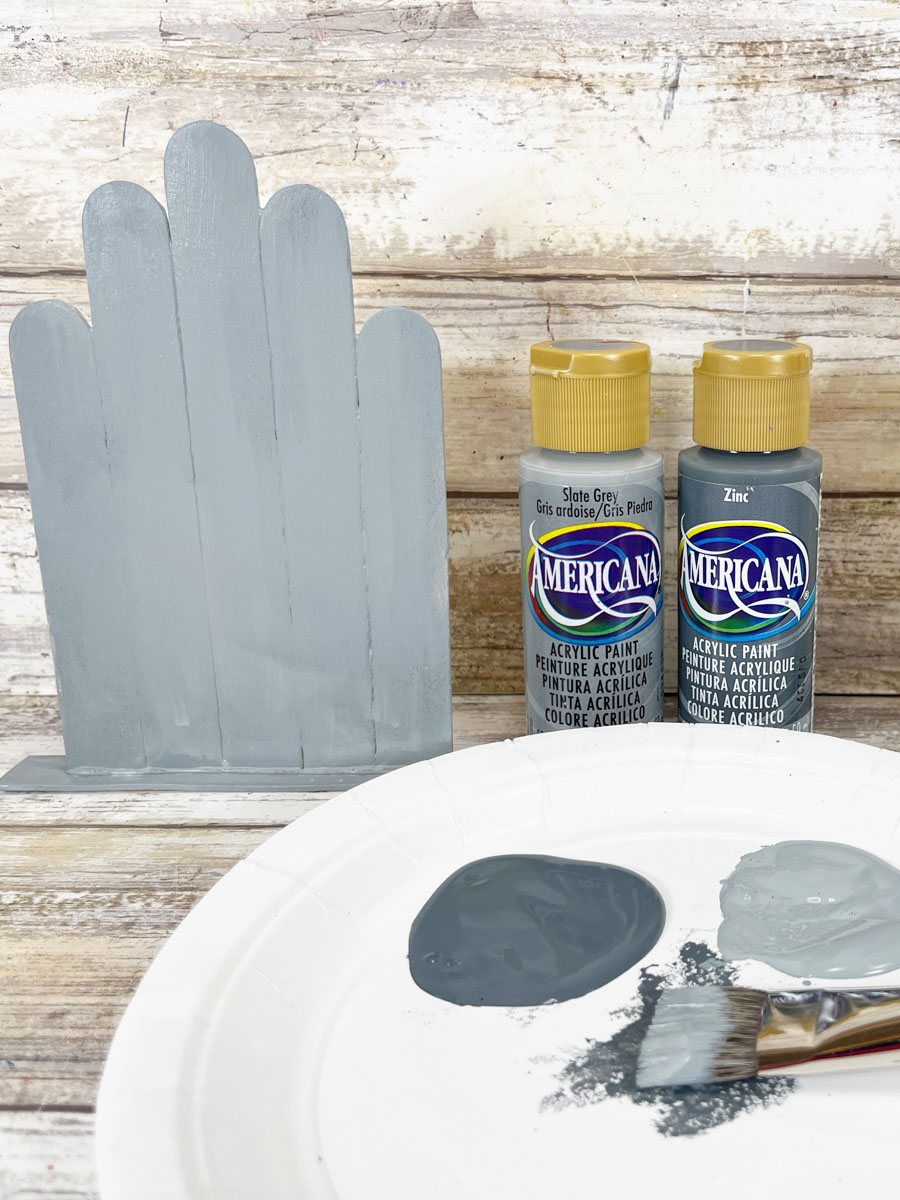
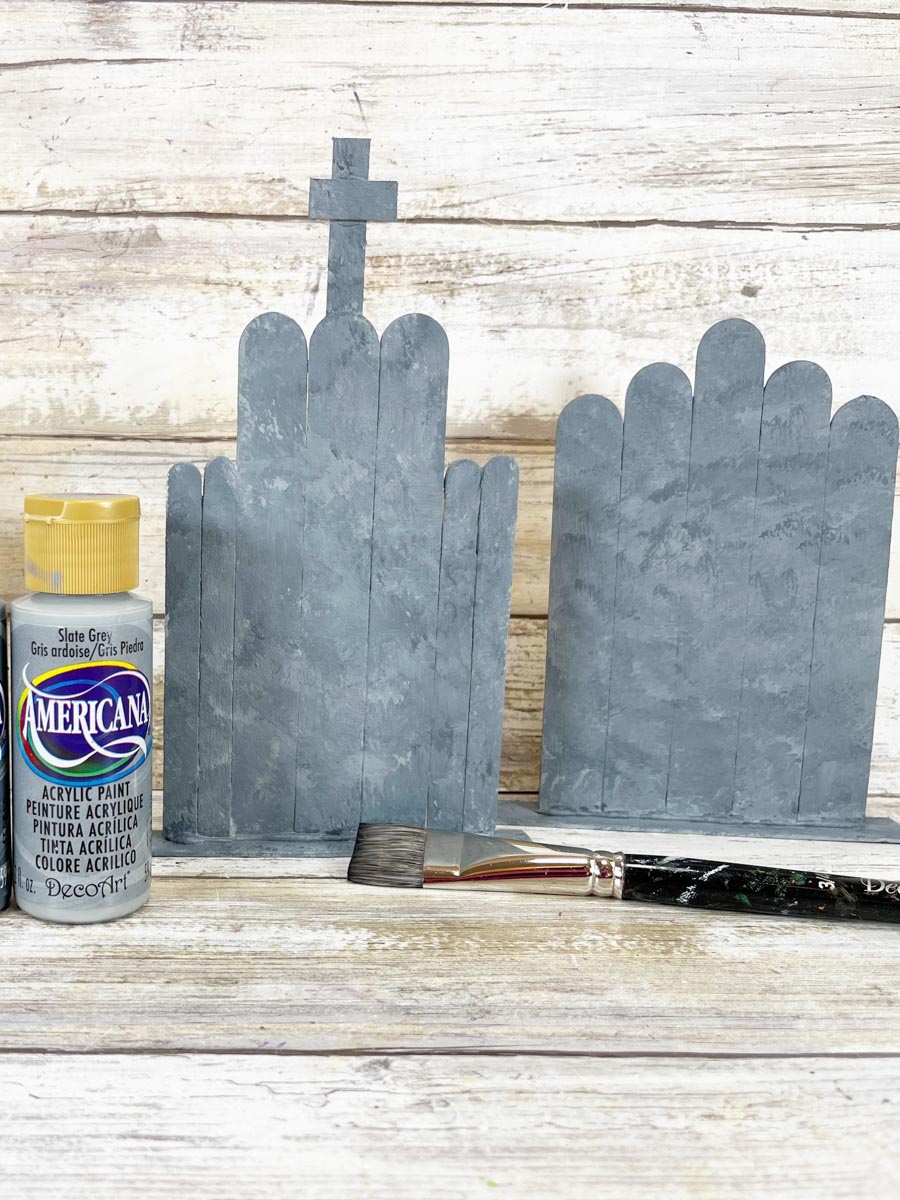
You really have a lot of freedom with how your paint your tombstones as long as you make them a gray color of some sort. I did a three step painting process to give that nice stony weathered look but really any sort of gray will look fine! Start by painting them with a base of the light gray craft paint. While the light gray paint is still wet, gently press the tips of the paintbrush into the dark gray paint and then press the tips of the paintbrush onto the still wet tombstones, almost like if you were doing sponge painting. Do this all over the tombstone to give it a weathered look and like the stone of a tombstone. Add a little more light gray paint to the top of the gray paint if you’d like. Let the paint dry completely before moving onto the next step.
3 – Decorate the Tombstones
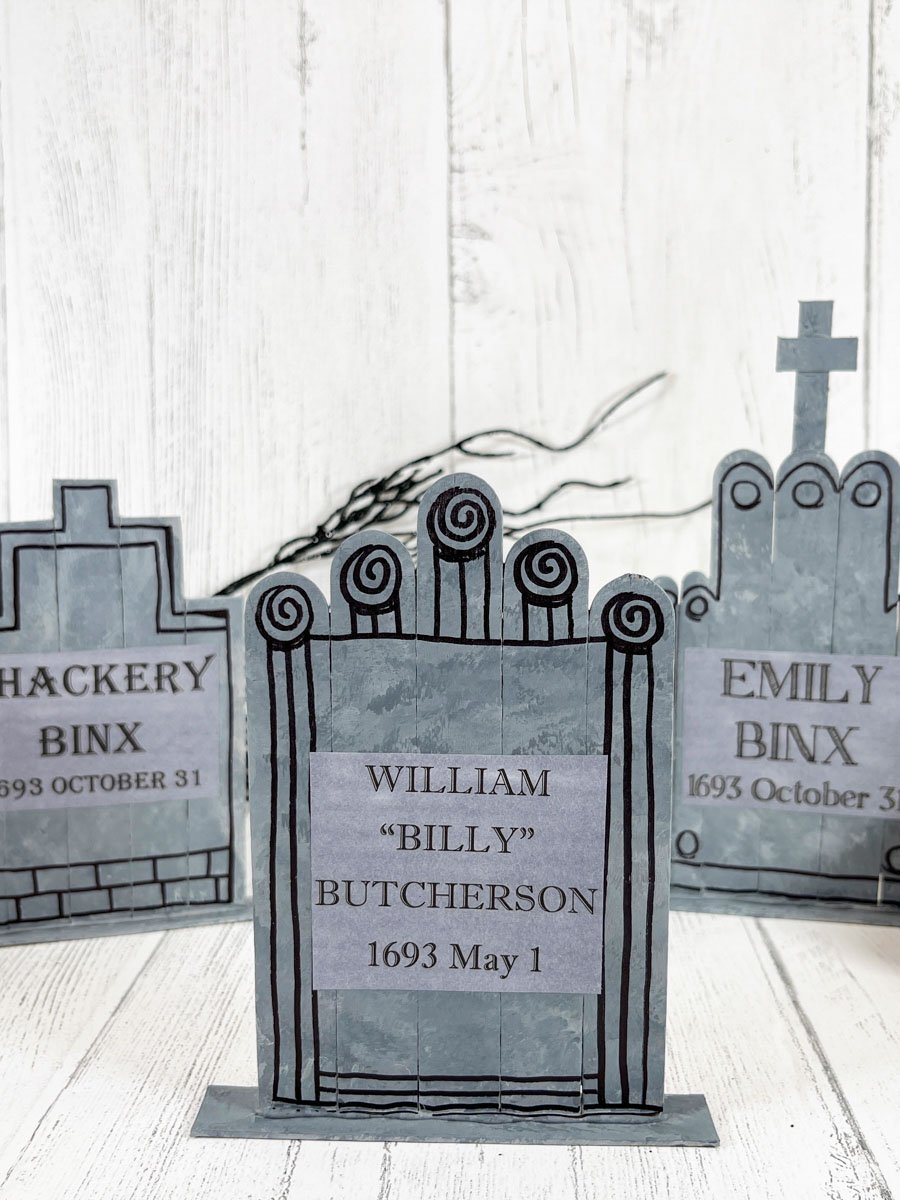
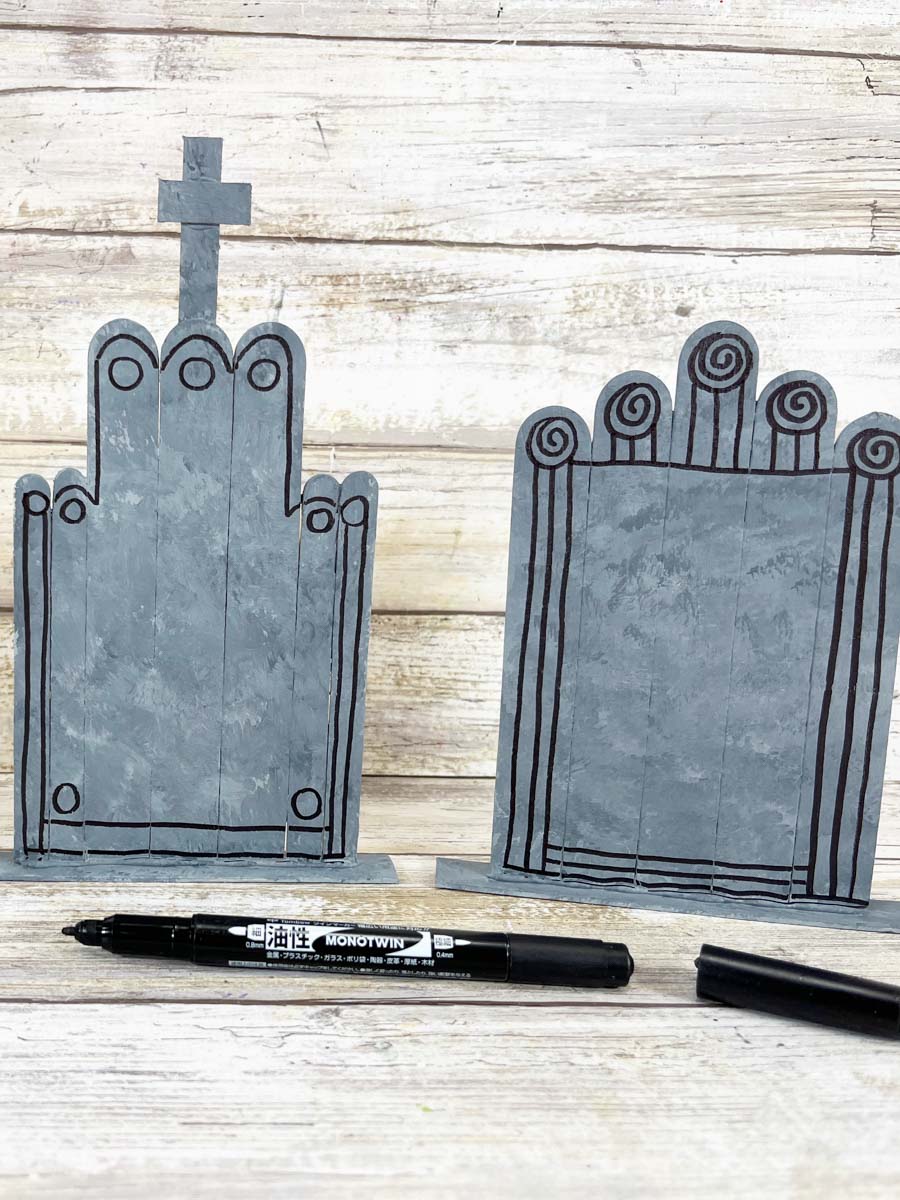
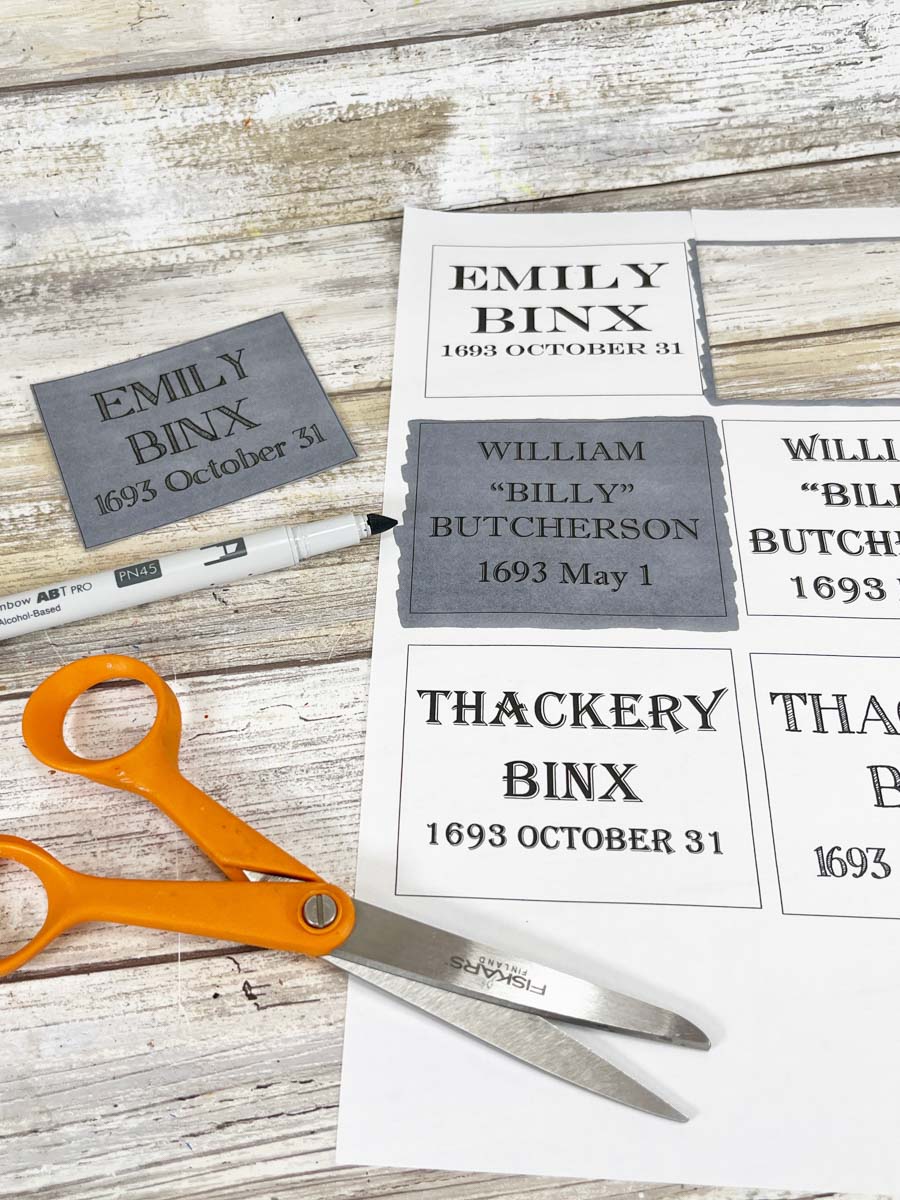
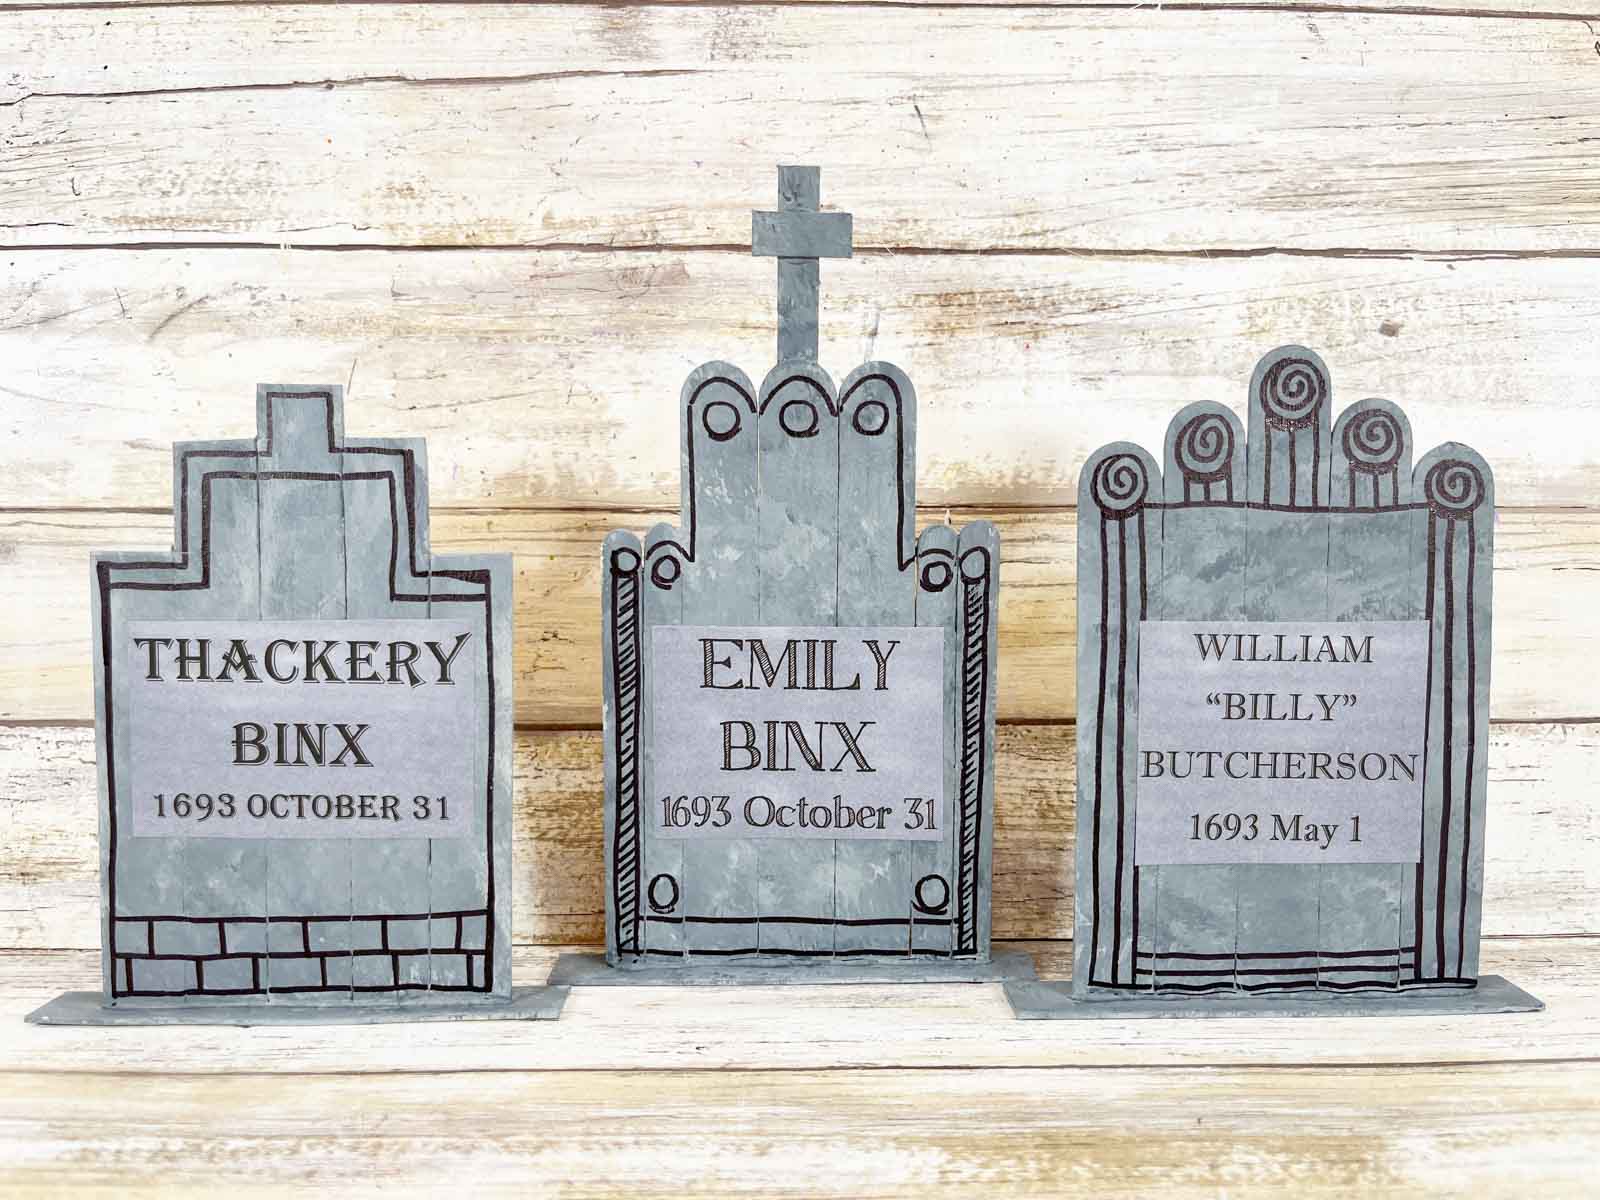
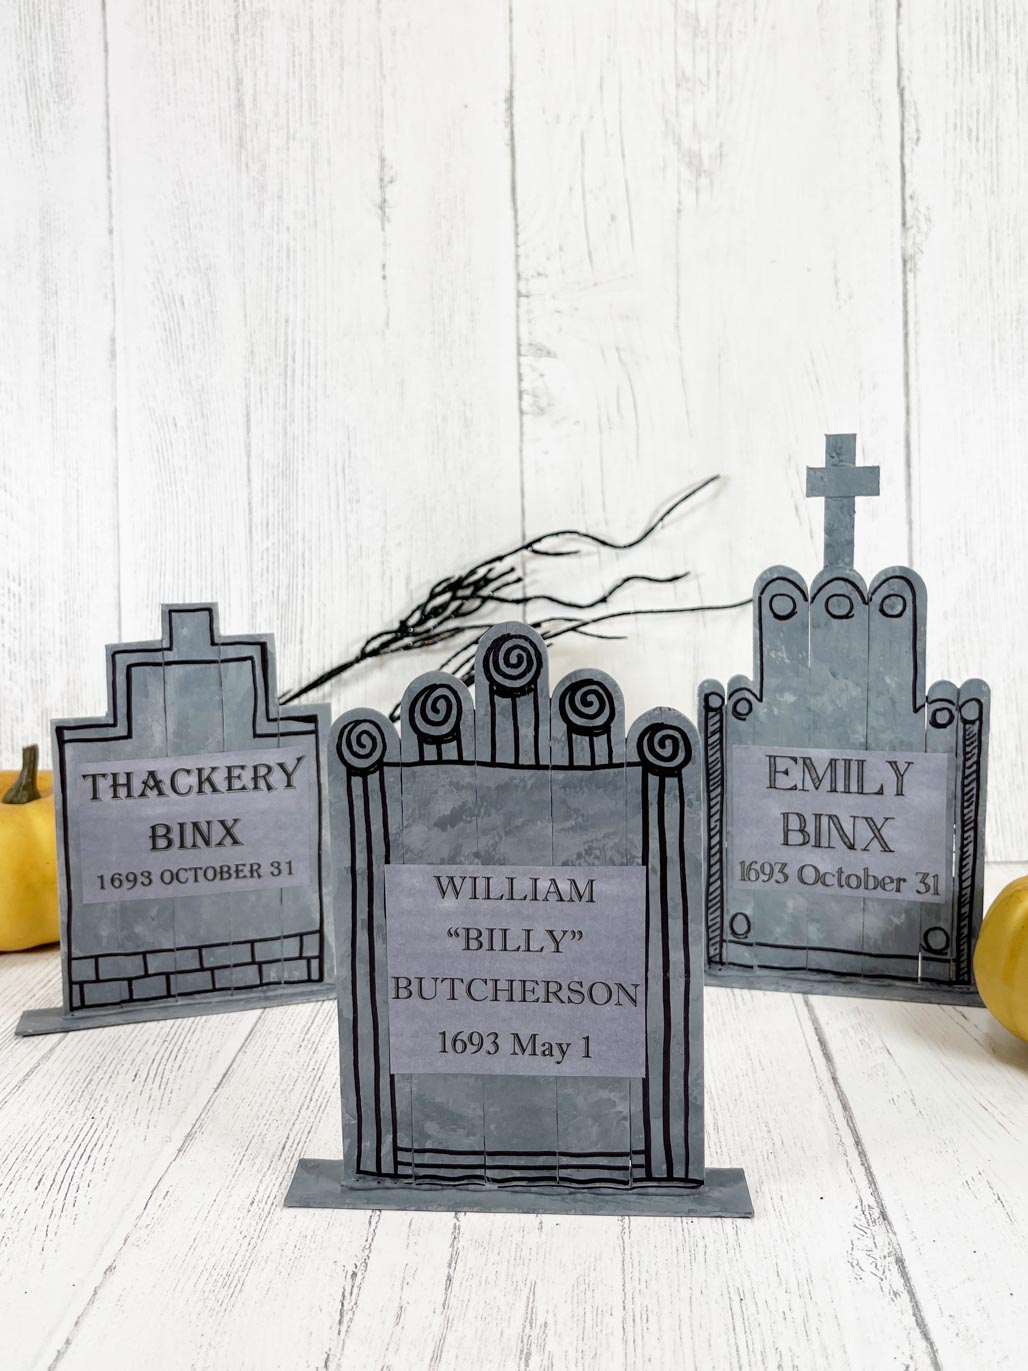
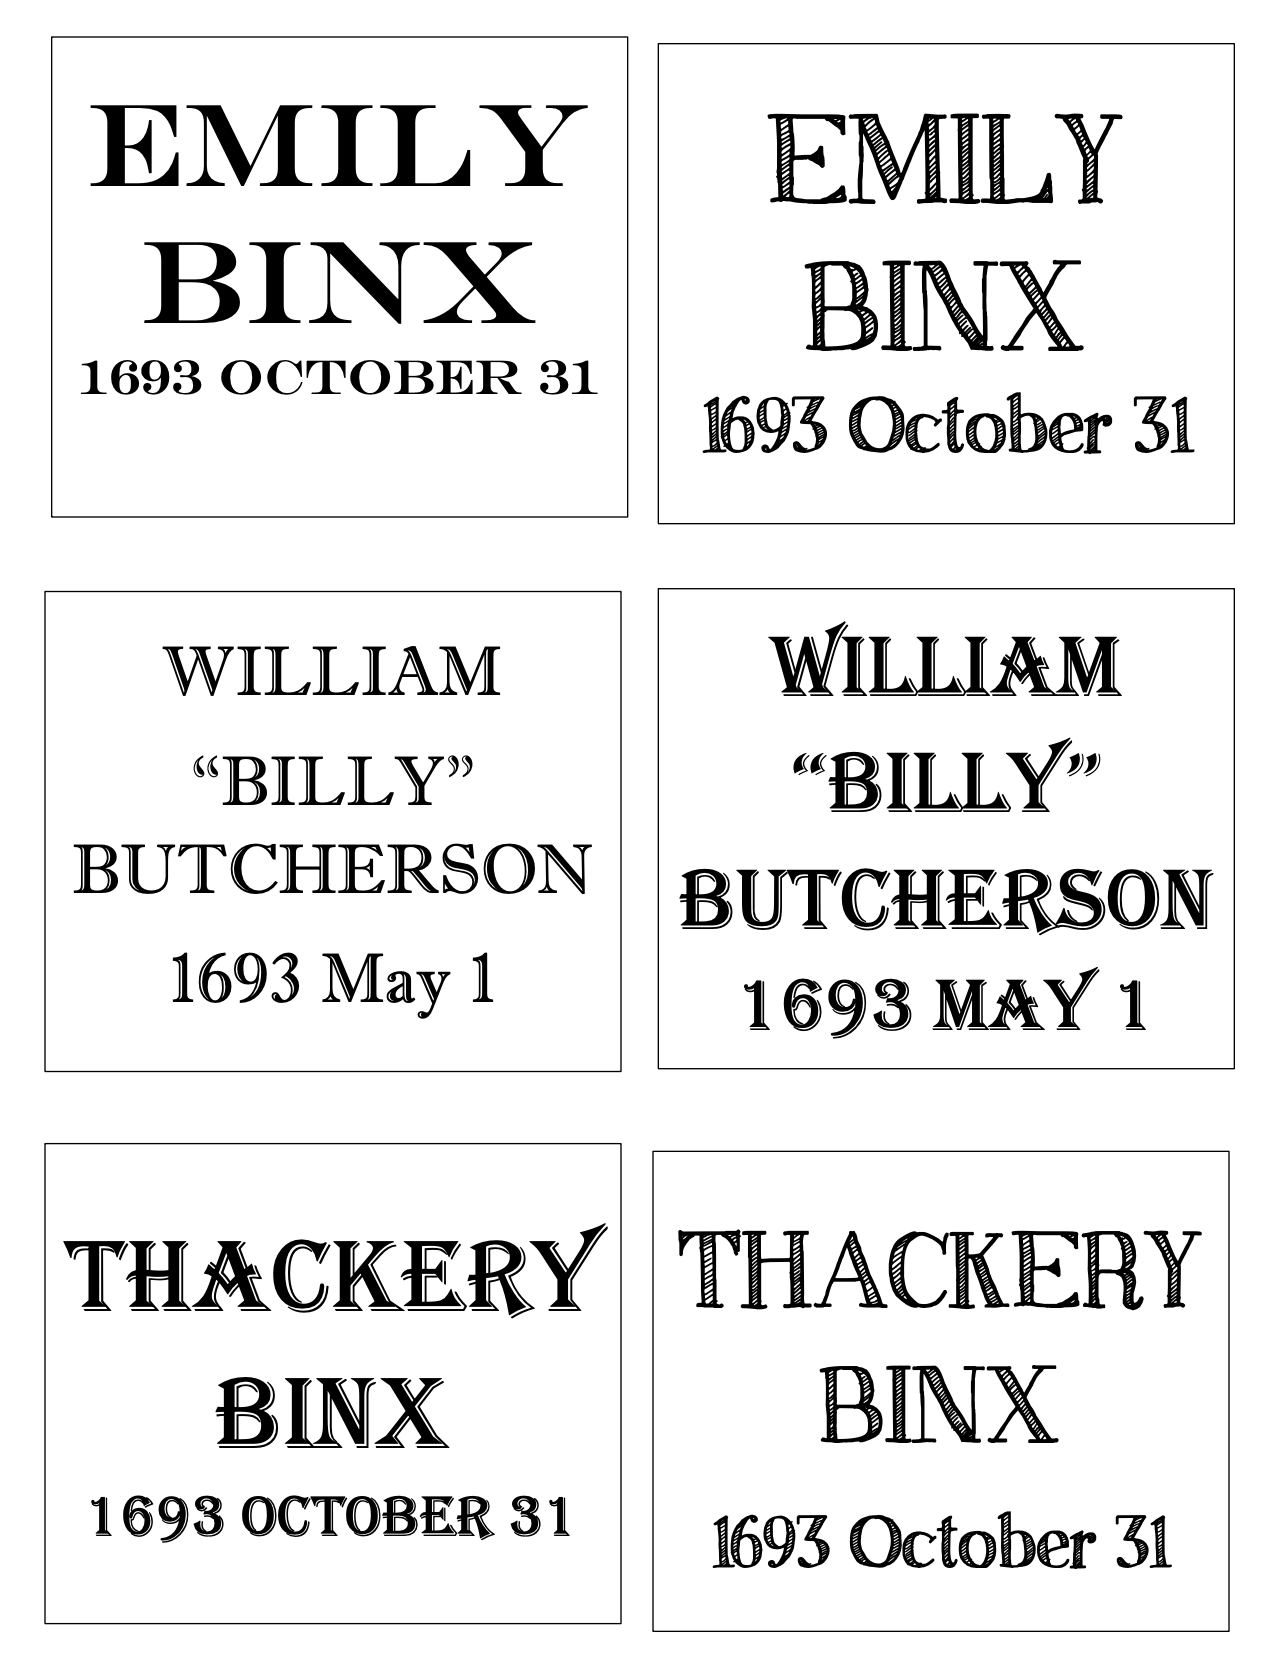
Last but not least, you’re going to decorate the tombstones and add the sayings. Start by using a fine tip black permanent marker to add detailing on each of the tombstones. Adding swirls, circles, and outlines really gives the tombstones the depth and dimension to make these stand out! While the marker is drying, print out the tombstone sayings if you’re making these Hocus Pocus themed. You can either print them directly on light gray paper or if you want them to have more of that weathered look, you can print them on white and color in with a gray marker. Cut and glue the tombstone sayings onto your tombstones using a glue stick. Let them dry and your tombstone craft is complete! Kids will love making these and adding their own sayings on the front even if they’ve never seen or heard of Hocus Pocus! These are really fun to display as Halloween decorations too! They’d also be really fun as something to make during a Hocus Pocus movie night!
Expert Tips
Make these with liquid craft glue instead of hot glue if you want kids to make them on their own but add in some time to allow the glue to dry before moving onto the next step. You can use any type of paint for these but craft paint dries fastest, which is why I recommend it. But if you’re doing these with little kids, you my want to use washable kid-friendly paint and markers instead! Print the tombstone patterns on gray paper to simplify the process for these. If you don’t have gray paper, you can print on white as well and color them in with a gray marker. Let kids get creative in cutting and decorating their own tombstones if you don’t want to go specific to Hocus Pocus. There are a lot of shapes and designs you can make with craft sticks and markers!
More Fun Halloween Crafts
If you’re looking for simple Halloween crafts, any of these would be fun to make with kids or on your own!
Ghost luminaries – simple ghost luminaries made using essential Cricut accessories!Punch board game – this Ghostbusters themed punch game is perfect for any Halloween party!Halloween candy hands – make these fun Halloween party favors and give them out with this Halloween candy sign!Printable Halloween decorations – everything you need for the ultimate Halloween party! Ghost craft – this fluffy ghost craft is so easy to make and so cute!
Download Tombstone Pattern
You can download the tombstone patterns right here! Just click the button below to download the PD document with all of the Hocus Pocus tombstone sayings! Print on either light gray paper or print on white and color in with gray markers if you want more of that stony weathered look.